Use Jupyter in mkdocs websites

Project description


mkdocs-jupyter: Use Jupyter Notebooks in mkdocs
- Add Jupyter Notebooks directly to the mkdocs navigation
- Support for multiple formats:
.ipynband.pyfiles (using jupytext)
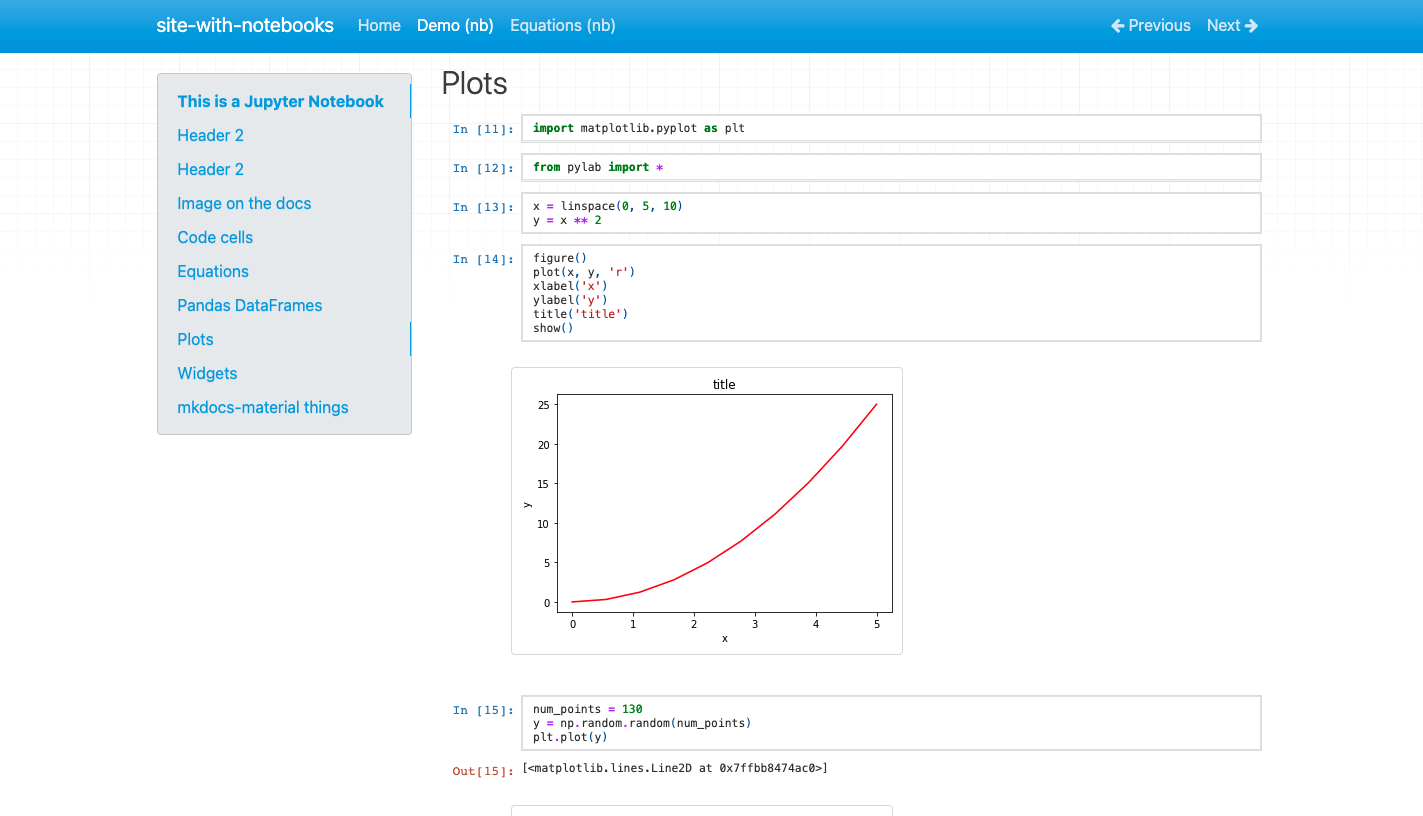
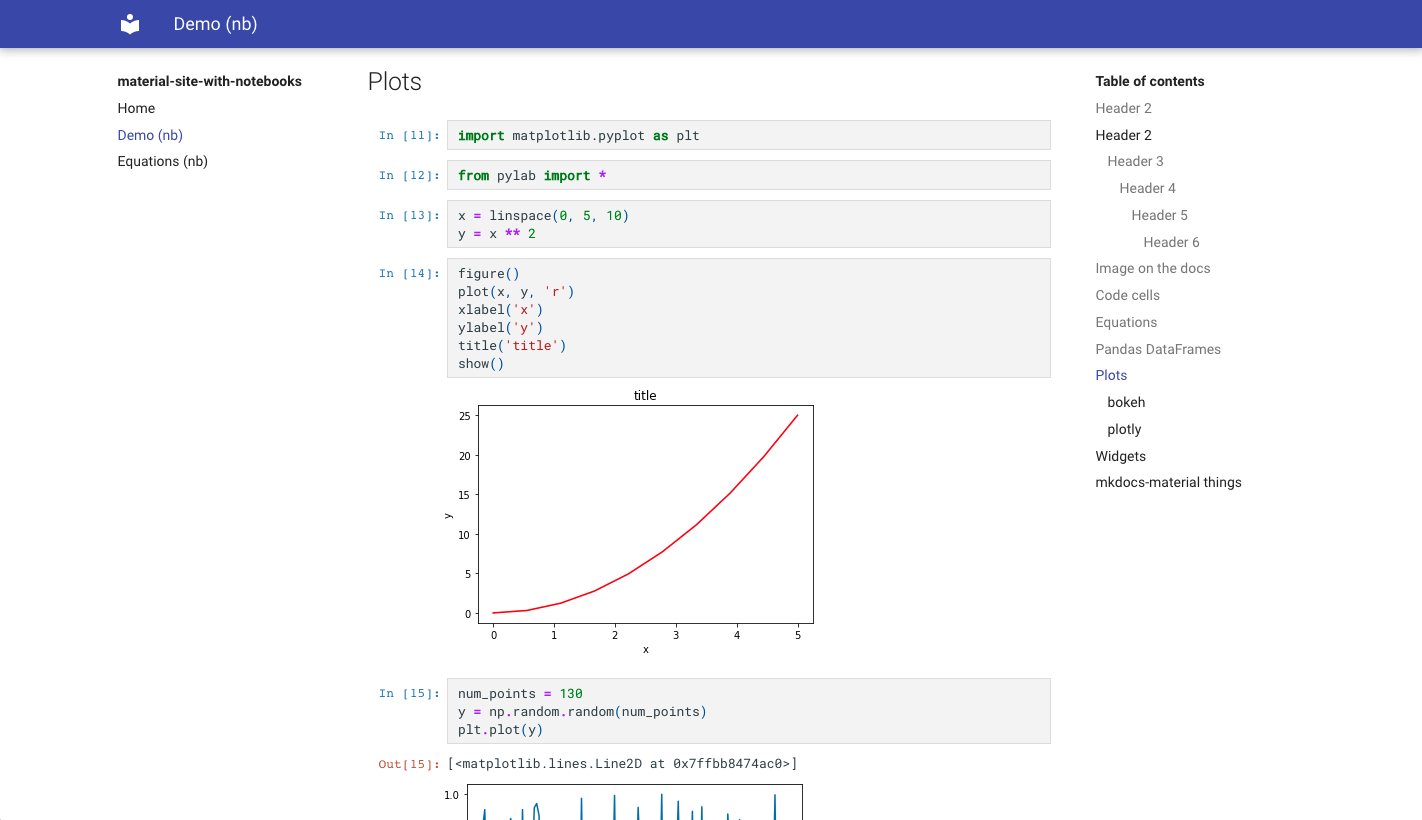
- Same style as regular Jupyter Notebooks
- Support Jupyter Themes
- Option to execute the notebook before converting
- Support for ipywidgets
- Support for mkdocs TOC
- Option to include notebook source
[Demo Site](https://mkdocs-jupyter.danielfrg.com/)
Installation
pip install mkdocs-jupyter
Configuration
In the mkdocs.yml use Jupyter notebooks (.ipynb) or Python scripts (.py) as pages:
nav:
  - Home: index.md
  - Notebook page: notebook.ipynb
  - Python file: python_script.py

plugins:
  - mkdocs-jupyter
Titles and Table of Contents
The first h1 header (#) in your notebook will be used as the title.
# This H1 header will be the the title.
This can be turned off in the configuration (in which case the filename will be used as title):
plugins:
  - mkdocs-jupyter:
      ignore_h1_titles: True
In order to see the table of contents you need to maintain a hierarchical headers structure in your notebooks.
You must use h2 headers (##) and not h1 (#)
## This H2 title will show in the table of contents
If you want to nest headers in the TOC you need to add additional levels later in the same markdown cell or new bottom markdown cells:
## This header will show as top level in the table of contents

<content>

### This one will be displayed inside the above level
Including or Ignoring Files
You can control which files are included or ignored via lists of glob patterns:
plugins:
  - mkdocs-jupyter:
      include: ["*.ipynb"] # Default: ["*.py", "*.ipynb"]
      ignore: ["some-irrelevant-files/*.ipynb"]
Execute Notebook
You can tell the plugin to execute the notebook before converting, default is False:
plugins:
  - mkdocs-jupyter:
      execute: True
You can tell the plugin to ignore the execution of some files (with glob matching):
plugins:
  - mkdocs-jupyter:
      execute_ignore: "my-secret-files/*.ipynb"
To fail when notebook execution fails set allow_errors to false:
plugins:
  - mkdocs-jupyter:
      execute: true
      allow_errors: false
Kernel
By default the plugin will use the kernel specified in the notebook to execute it. You can specify a custom kernel name to use for all the notebooks:
plugins:
  - mkdocs-jupyter:
      kernel_name: python3
Ingore Code Input
By default the plugin will show full code and regular cell output details. You can hide cell code input for all the notebooks:
plugins:
  - mkdocs-jupyter:
      show_input: False
You can also decide to hide the Out[#] output notation and other cell metadata for all the notebooks:
plugins:
  - mkdocs-jupyter:
      no_input: True
Remove Cell Using Tags
By default the plugin will show full code and regular cell output details. You can hide cell code input for specific cells using tags:
plugins:
  - mkdocs-jupyter:
      remove_tag_config:
        remove_input_tags:
          - hide_code
More detailed on removing cell based on tag, see NbConvert Customization)
Jupyter themes
You can configure the different Jupyter themes.
For example if using material with slate color scheme you can use the Jupyter Lab dark theme:
plugins:
  - mkdocs-jupyter:
      theme: dark

theme:
  name: material
  palette:
    scheme: slate
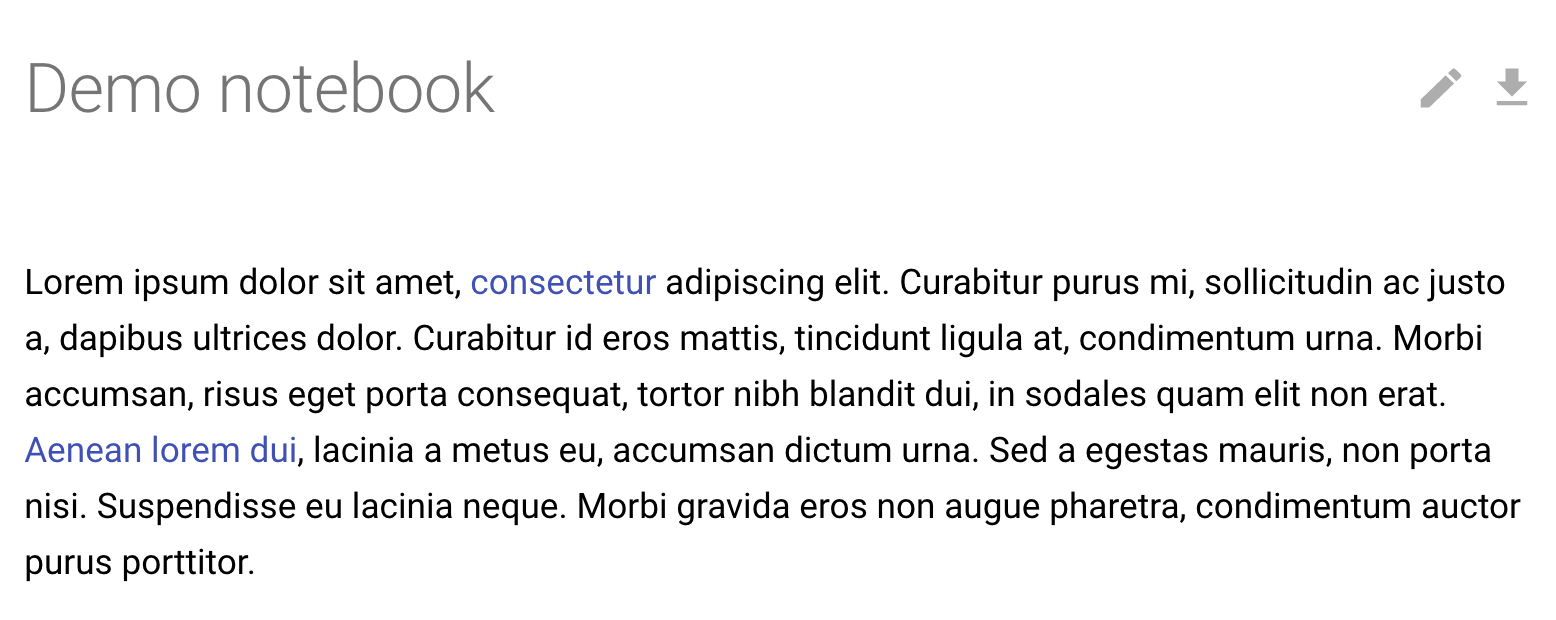
Download notebook link
You can tell the plugin to include the notebook source to make it easy to show
a download button in the theme, default is False:
plugins:
  - mkdocs-jupyter:
      include_source: True
This setting will also create a page.nb_url value that you can use in your theme
to make a link in each page.
For example in mkdocs-material
(see customization),
you can create a main.html file like this:
{% extends "base.html" %}

{% block content %}
{% if page.nb_url %}
    <a href="{{ page.nb_url }}" title="Download Notebook" class="md-content__button md-icon">
        {% include ".icons/material/download.svg" %}
    </a>
{% endif %}

{{ super() }}
{% endblock content %}
Styles
This extensions includes the Jupyter Lab nbconvert CSS styles and does some changes to make it as generic as possible in order for it to work with a variety of mkdocs themes. This is not always possible and the theme we test the most is mkdocs-material.
It's possible you might need to do some CSS changes to make it look as good as you want, for example for the material theme take a look at their customization docs.
Create a main.html file like:
{% extends "base.html" %}

{% block content %}
{{ super() }}

<style>
// Do whatever changes you need here

.jp-RenderedHTMLCommon p {
    color: red
}

</style>
{% endblock content %}
Mkdocs Material notes
Any markdown specific features such as admonitions wont work with mkdocs-jupyter because those features are not supported by Jupyter itseft and we use nbconvert to make the conversion.
Release history Release notifications | RSS feed


Download files
Download the file for your platform. If you're not sure which to choose, learn more about installing packages.
Source Distribution
Built Distribution
Hashes for mkdocs_jupyter-0.23.0-py3-none-any.whl
| Algorithm | Hash digest | |
|---|---|---|
| SHA256 | 24ec535d4c0ca2b8f936df6be90c3be3a57cd114b9a07378b362767ccbfdd9a8 |
|
| MD5 | 002646fa47a9d50974e81098329ef0fc |
|
| BLAKE2b-256 | f2fcb0a8bd1d31247323a80c76af184fe1c79c738154838fed78f3ae30f8d092 |


